Printing a Single Image Side by Side
-
Click Step &Repeat.
The Step &Repeat window appears.
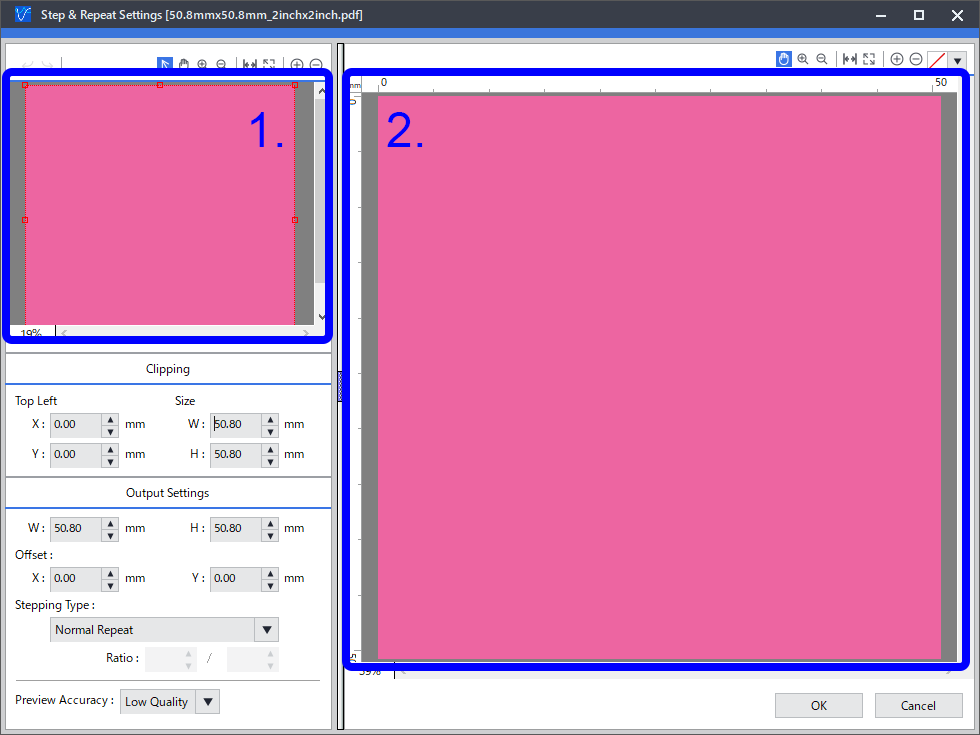
1. Preview area
2. Layout area
If you want to set the image's area to print, proceed to step 3.
If you want to use the entire image, proceed to step 4.
-
Set the image's area to print.
There are two ways to configure this setting:
- Entering the values
- In Size, enter the width and the height of the clip area.
- In Top Left Position, enter the location of the upper-left corner of the clip area with the origin at the upper-left corner of the image. The clipped area appears in the layout area side by side.IMPORTANT: Top Left Position can be set within the range such that the clip area set with Size does not go beyond the edges of the original image. Be sure to set Size before setting Top Left Position.
- Dragging the mouse over the preview area
- In the layout area, click
 .
. - Point to the small square (the clip point) on the clip line (the red line in the figure). The pointer changes to
 (a shape with a point in the upper-right corner).
 - Drag the clip point to set the clip area. The clipped area appears in the layout area side by side.IMPORTANT: To fine-tune the clip area, use
 and
and  to enlarge the preview image, and then drag the clip point again.
- In the layout area, click
You can also combine both methods to configure the settings. For example, you can set the clip area roughly in the layout area, and then fine-tune the clip area by entering the values. - Entering the values